First, you need to know the size you want to trace.
To do this, I invite you to refer to the measurement table sent in the model tutorial or to read the article How to choose your size?
It is best to trace the pattern and not cut directly from the pattern you received.
Because if you want to sew another size in the future it would no longer be usable.
Place a sheet of tracing paper or tissue paper and trace the pattern to the size you want.
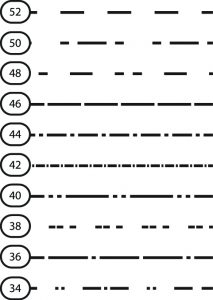
Each size is differentiated by a line with a different dotted line.
Don't forget to include all the information, notches, markers, grain lines, etc. They will be very useful to you when cutting the fabric and sewing your model.
On all patterns, seam allowances are included.
The values of each seam allowance are listed in the legend

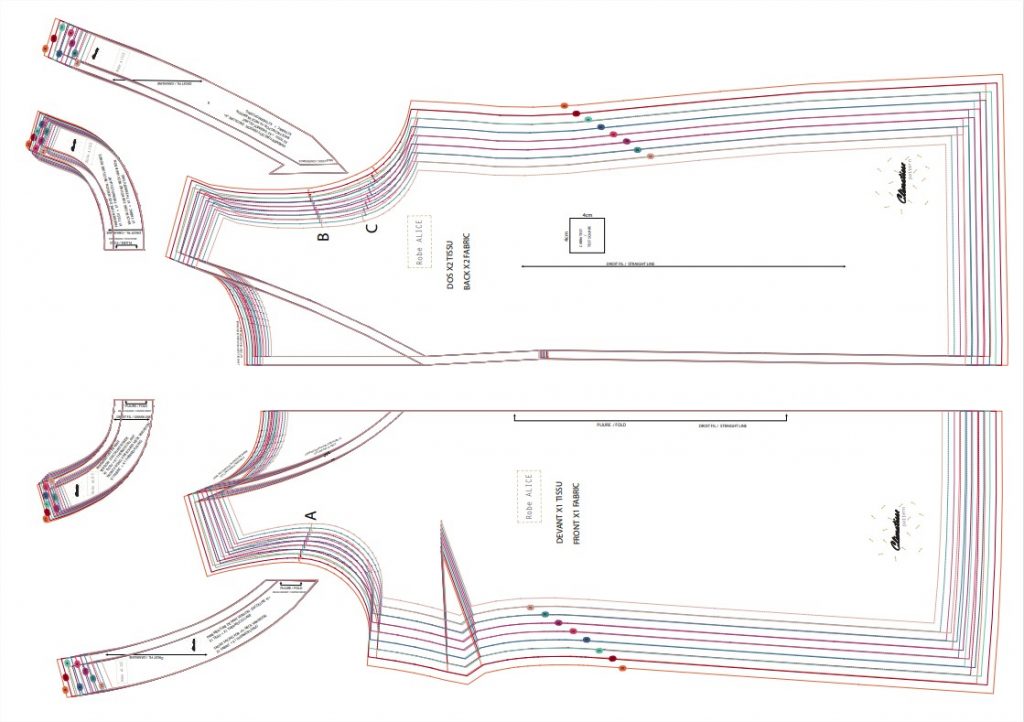
The straight grain markers:
They must be positioned parallel to the selvage of the fabric (the edge of the fabric)
This is very important because otherwise your dress, blouse or pants may twist when you wear them.
![]()
The “fold placement” markers:
They tell you that the pattern should be positioned on the fold of the fabric.
This fold is straight grain, that is to say parallel to the edge of the fabric
![]()
The mounting notches/markers:
These notches are very useful when assembling 2 pieces, you have to match them to have a good fall of your model
![]()
Lines by size:
The rhythm of the dotted lines is different from one size to another.
In addition, a sticker with the name of the size is positioned on each of the pattern pieces.
No confusion possible
In addition, on each piece of the pattern, you will find the necessary information: front, back, sleeves, collar, etc. and the number of times to cut, in the fabric, the iron-on, the lining, etc.